Accessing and Making General Settings
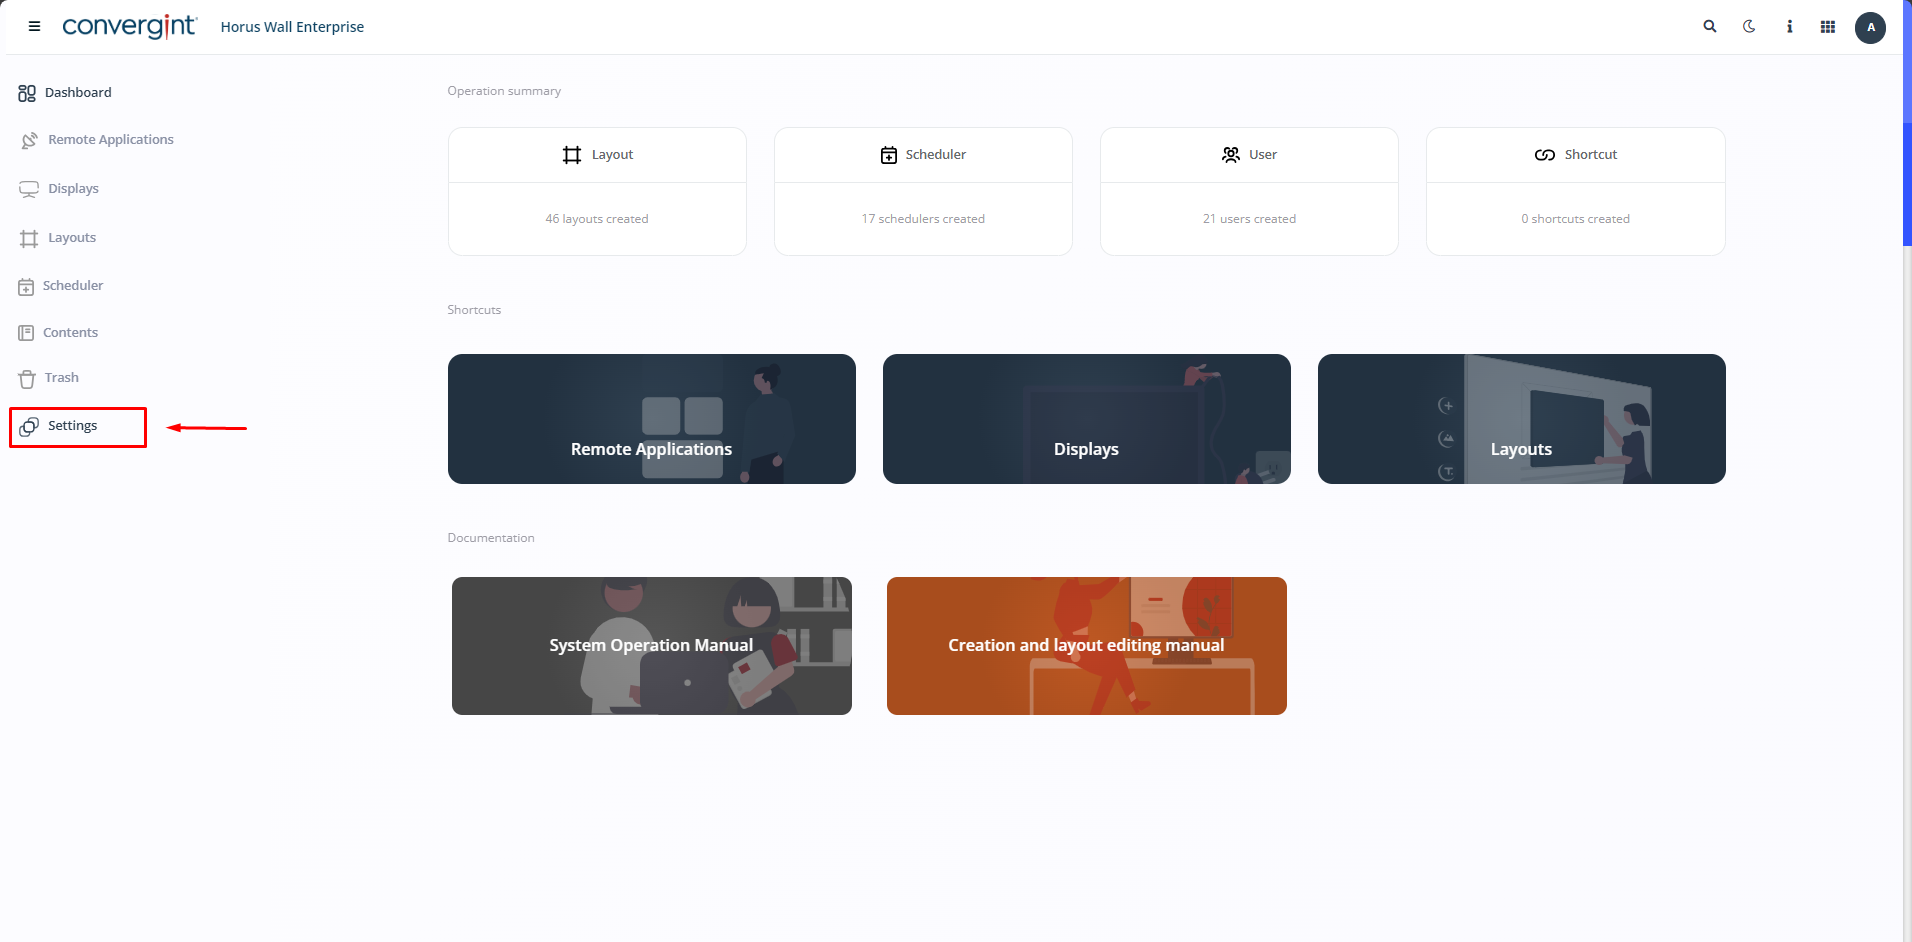
To proceed with Wall's settings, it is essential to access the “Settings” tab. Then select the “General Settings” topic in the “Settings” tab. This feature allows you to customize the system according to your preferences, allowing you to assign the necessary and additional information according to your choices.
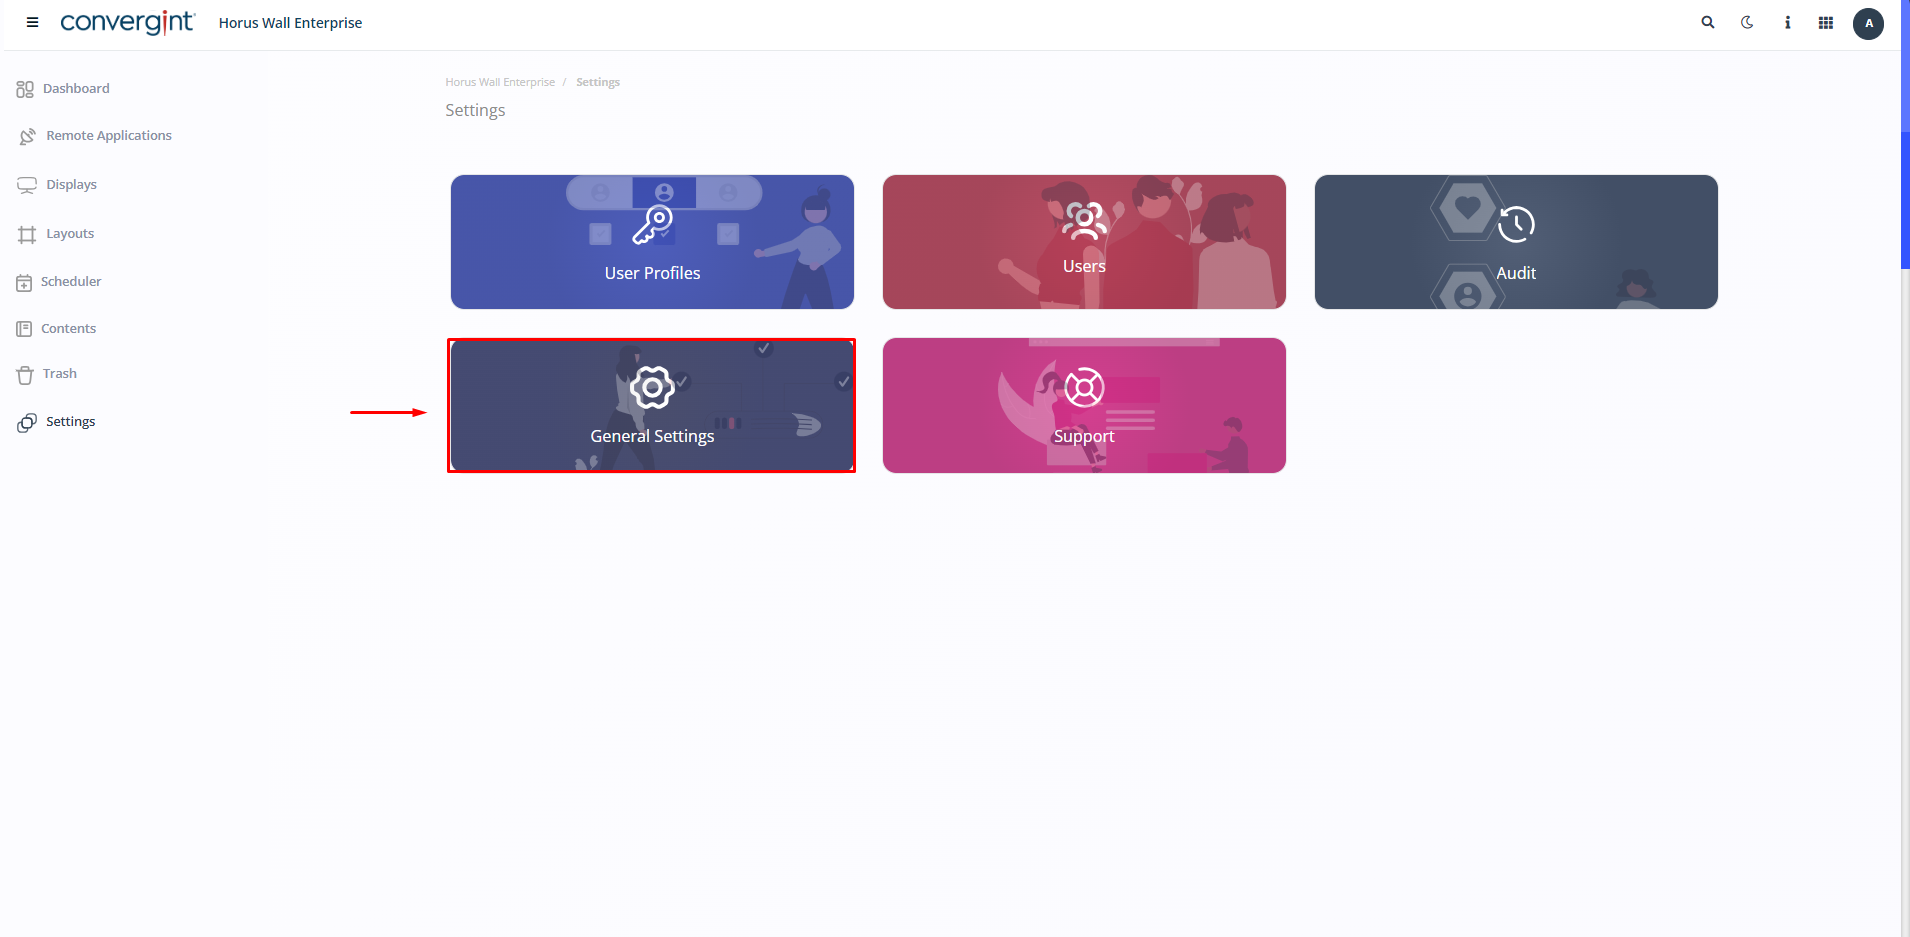
When you click on “General Settings”, the system will open a screen that allows you to configure the following sections: General Settings, Standard Remote Applications, Content Manager Module Settings, Collab Module Settings, Turnserver Configuratoions, Genetec Configurations, LDAP Settings, SSO Settings, Backup & Restore Audit Settings, Image Transmission Settings and SMTP Server Settings respectively.
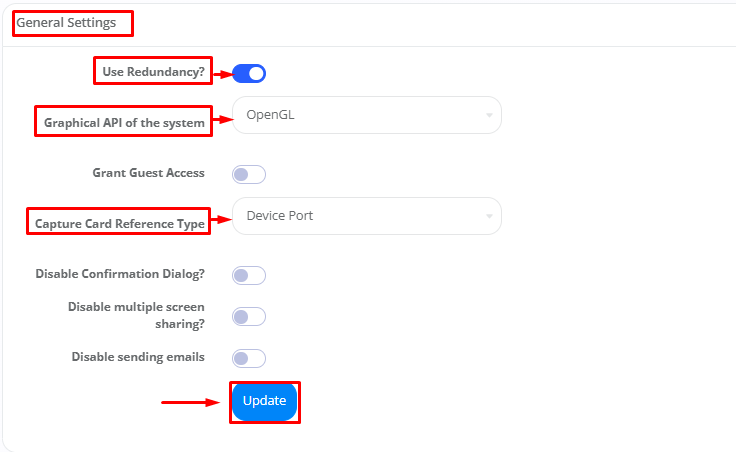
• General Settings: Under General Settings, you will find the following options: Use Redundancy, Graphical System API, Grant Guest Access, Disable Confirmation Windows, Disable Multiple Screen Sharing and Disable Sending Emails. To make the desired changes, simply click on any of these topics and click on “Update” to save the changes. When you click on Use Redundancy, the Capture Card Reference Type option will be displayed, where you can choose according to your preference, in the same way as with the Graphical System API topic.
• Standard remote applications: In this section, you can include the desired navigation in “browser”. This allows for efficient management and adapts to your preferences. Click on “Update”.

• Content Manager Module Settings: By accessing this option, it is possible to adjust and customize the settings involving content management, including the assignment of the server URL. Once configured, click on “Update”

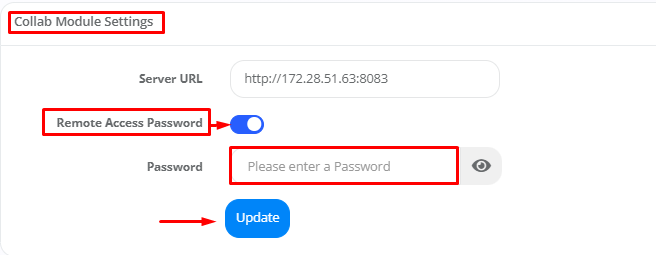
• Collab Module Settings: By accessing this option, you can adjust and customize Collab-related settings, including assigning the server URL. You can also add a remote access password by activating the option and entering the corresponding password for the server. After making the desired settings, click on “Update” to save the changes.
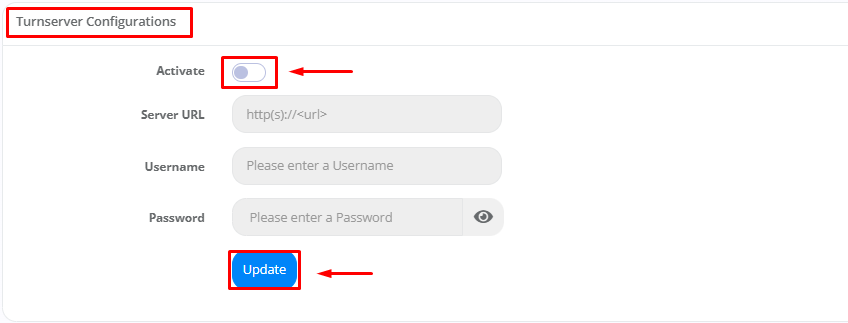
• Turnserver settings: In this section, you can include the assignment of the server URL, the username and password of your choice. This allows for efficient management and adapts to your preferences. To get what you want, simply click on the “Activate” button to configure. Once configured, click on “Update”.
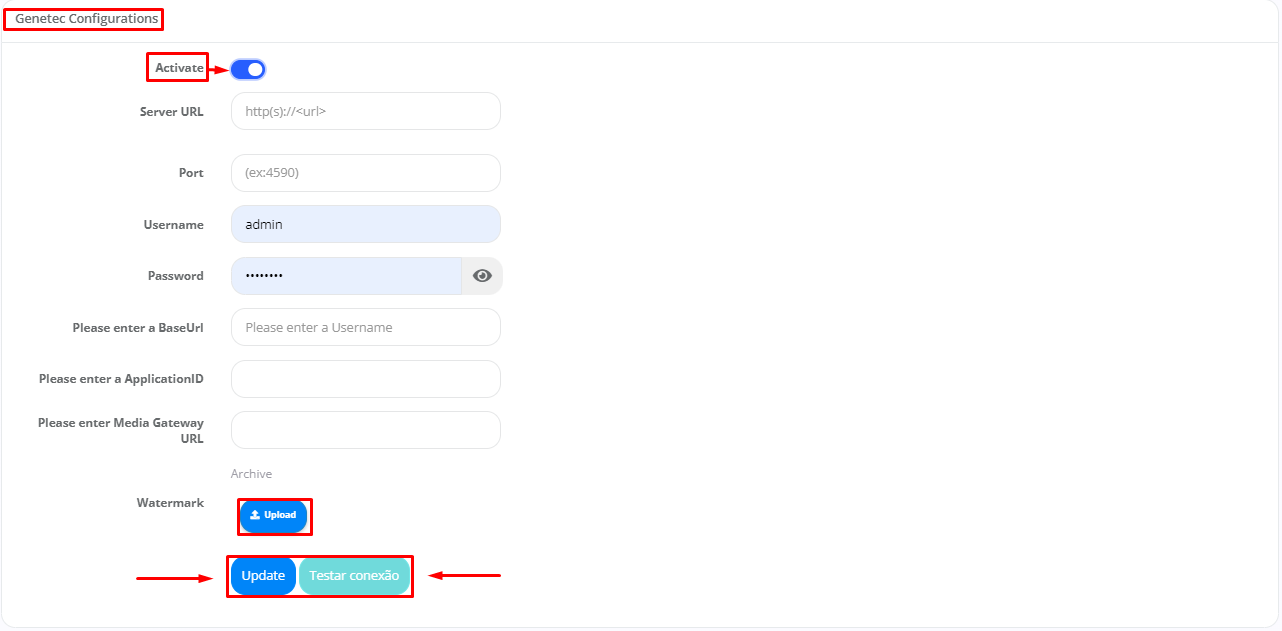
• Genetec Configurations: Configuring integration with Genetec allows you to assign the server URL, server port, username and password according to your preference in baseUrl. In addition, other settings are available within this topic, such as ApplicationID and Media Gateway, facilitating efficient management tailored to your needs. To activate the desired settings, click on the “Activate” button. You will then be presented with the option to upload the file in “Watermark”. Once configured, it is advisable to test the connection by clicking on “Test Connection” to check that the information entered is correct. Finally, to complete the settings, click on “Update” to save the changes you have made.
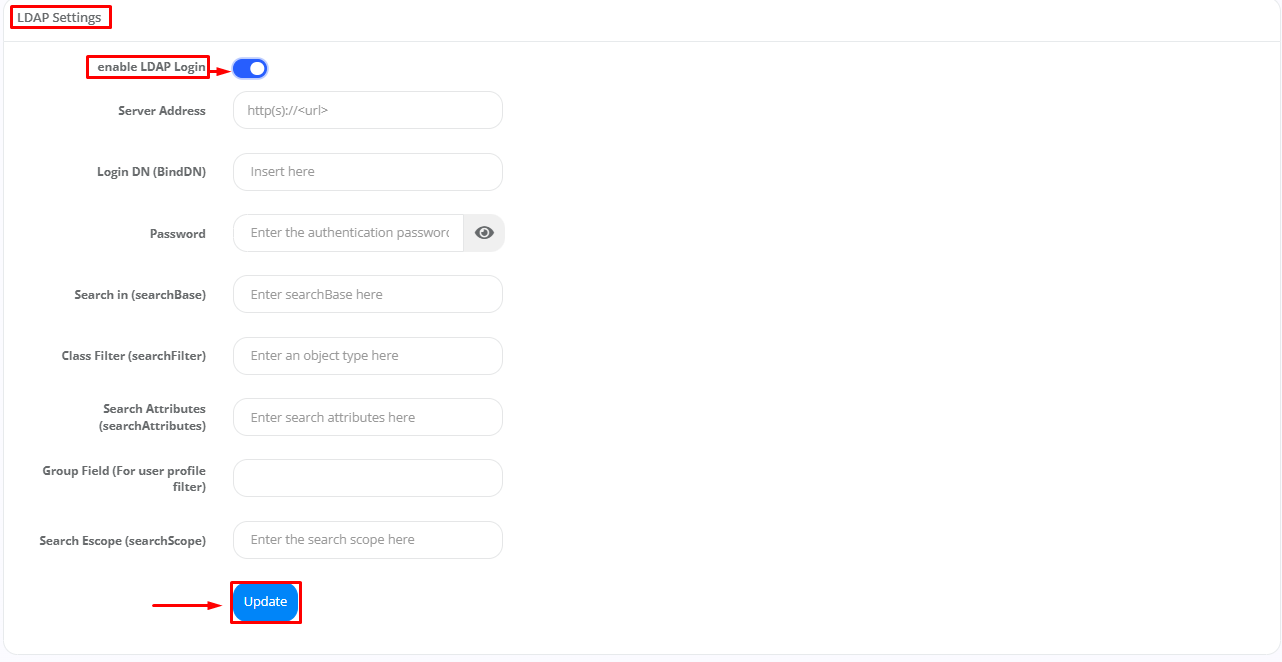
• LDAP settings: By accessing this option, you can enable login via LDAP (Lighweight Directory Access Protocol), and then assign and enter the appropriate settings, such as: Server address, Login DN, Password, SearchBase, Class filter, Search attributes, Group field (For user profile filter) and Search scope. This makes it easier for users to find certain information. Once configured, click on “Update”.
• SSO settings: This option allows you to enable SSO (Single Sign-On) login by providing and declaring the appropriate settings, such as server address and API token. This allows users to access the platform or applications with just one set of credentials. Once configured, click on “Update”.

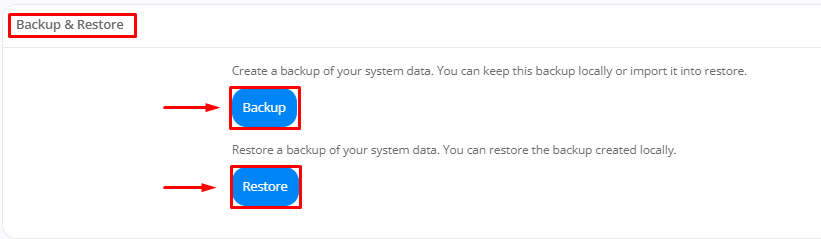
• Backup & Restore: To create a backup of your system data, click on “Backup”. You can choose to store this backup locally or import it for later restoration. To restore a backup of your system data previously created locally, click on “Restore”.
• Audit Settings: By accessing this option, you can adjust and customize the settings involving the audit, including the assignment of the server URL. Once configured, click on “Update”.

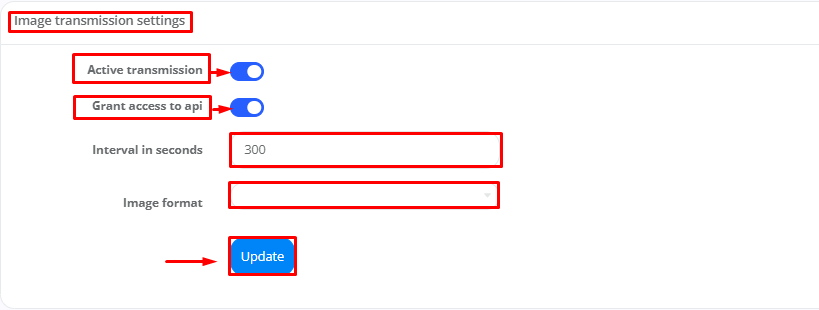
• mage Transmission Settings: In this option, you can activate image transmission by defining the necessary settings, such as: Activate Transmission, Grant API Access, the Interval in Seconds (where you can choose the value of your preference next to the topic), and the Image Format, available in the “PNG” or “JPEG” options, according to your needs. After making the desired settings, click on “Update” to save the changes and ensure that the information is updated according to your preferences.
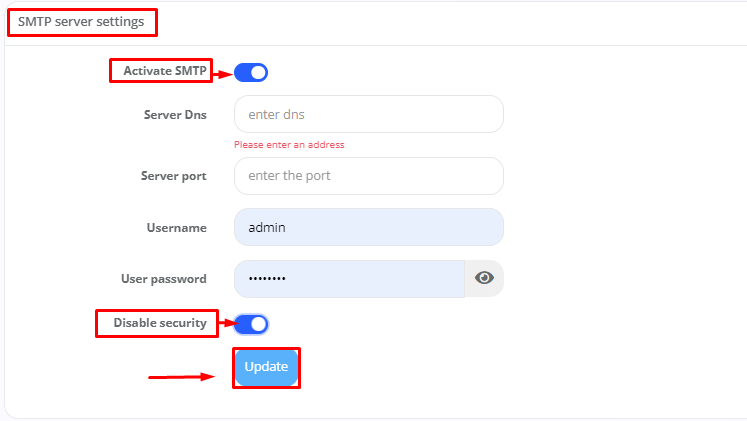
• SMTP Server Settings: When you activate the “Enable SMTP” option, you will be presented with various configuration options, such as: Server DNS, Server Port, User Name, User Password and the option to Disable Security. Enter the settings according to your needs and preferences. After completing the settings, click on “Update” to save the changes. It is important to note that these settings, after activating the “Enable SMTP” option, are directly related to the “SMTP Server Settings” topic.