Scheduler Registration
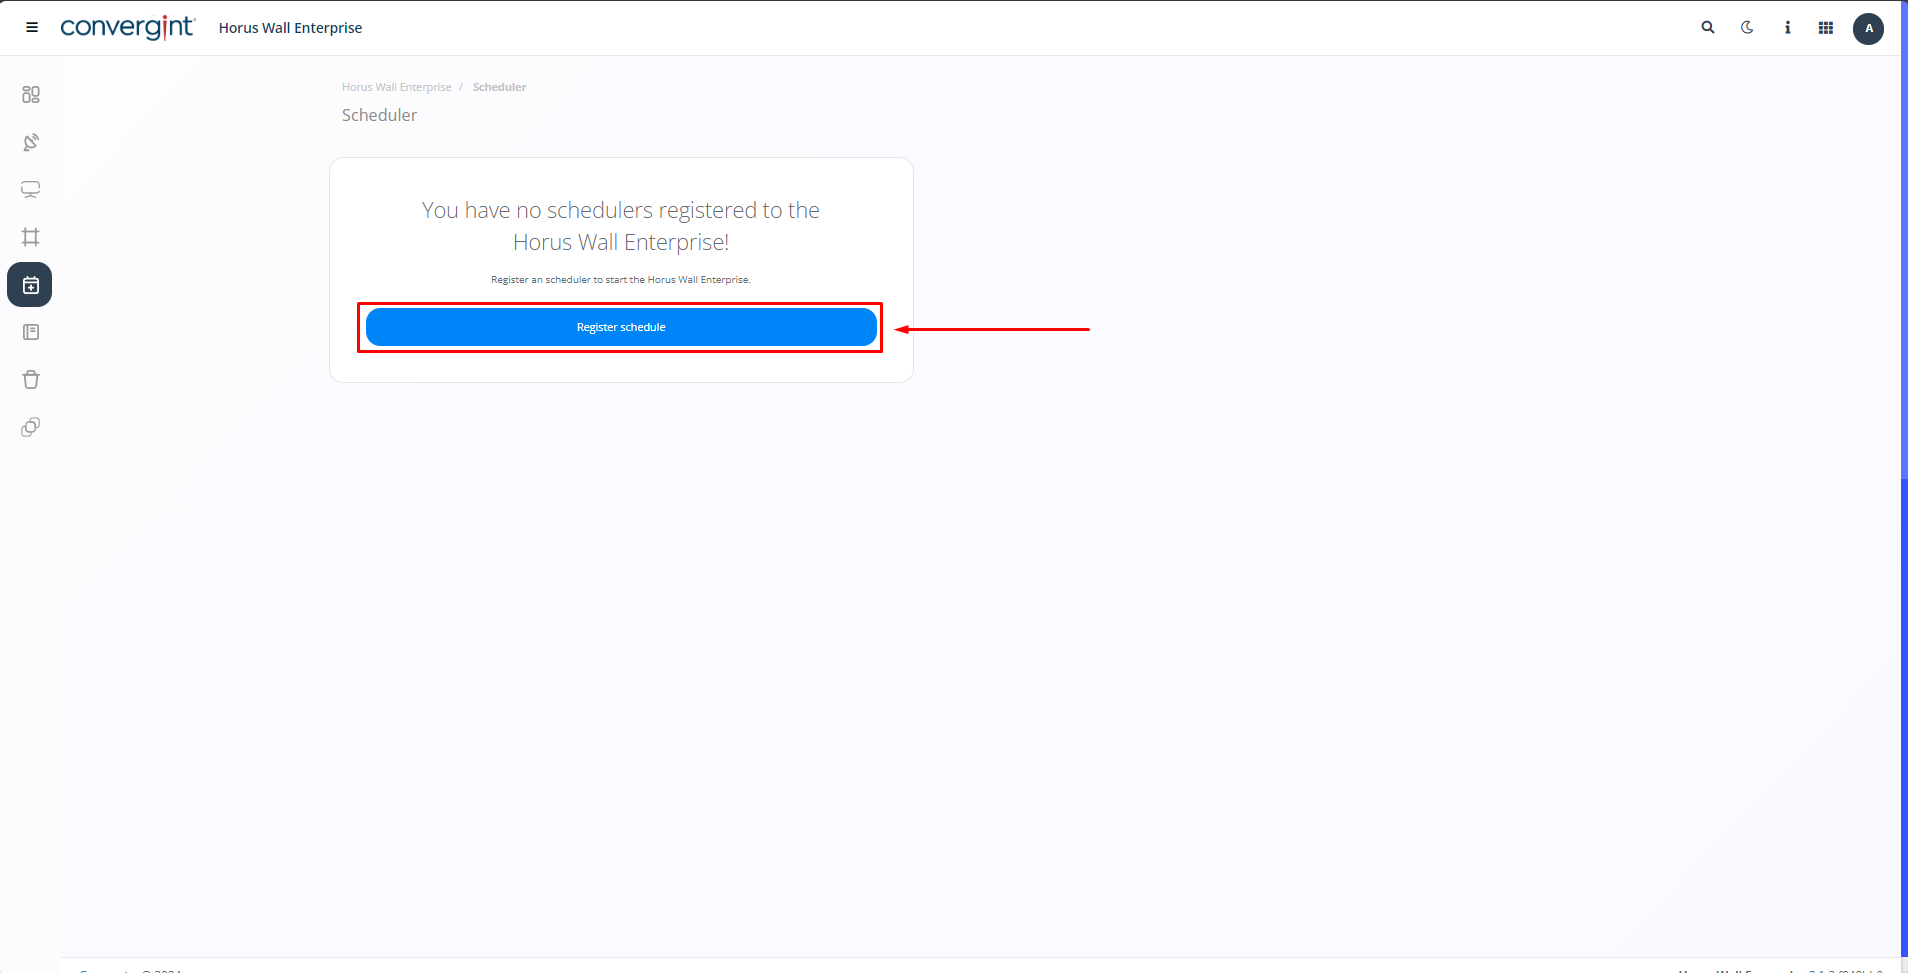
The first step to register a scheduler is by accessing the "Scheduler" tab. This feature allows for the management of a slide sequence playback, offering flexibility in displaying layouts during your chosen period.

After clicking on "Scheduler," the system will open the screen, where we will first define by clicking on "Register Schedule". If any schedulers have been created previously, they should be listed just below the search bar.
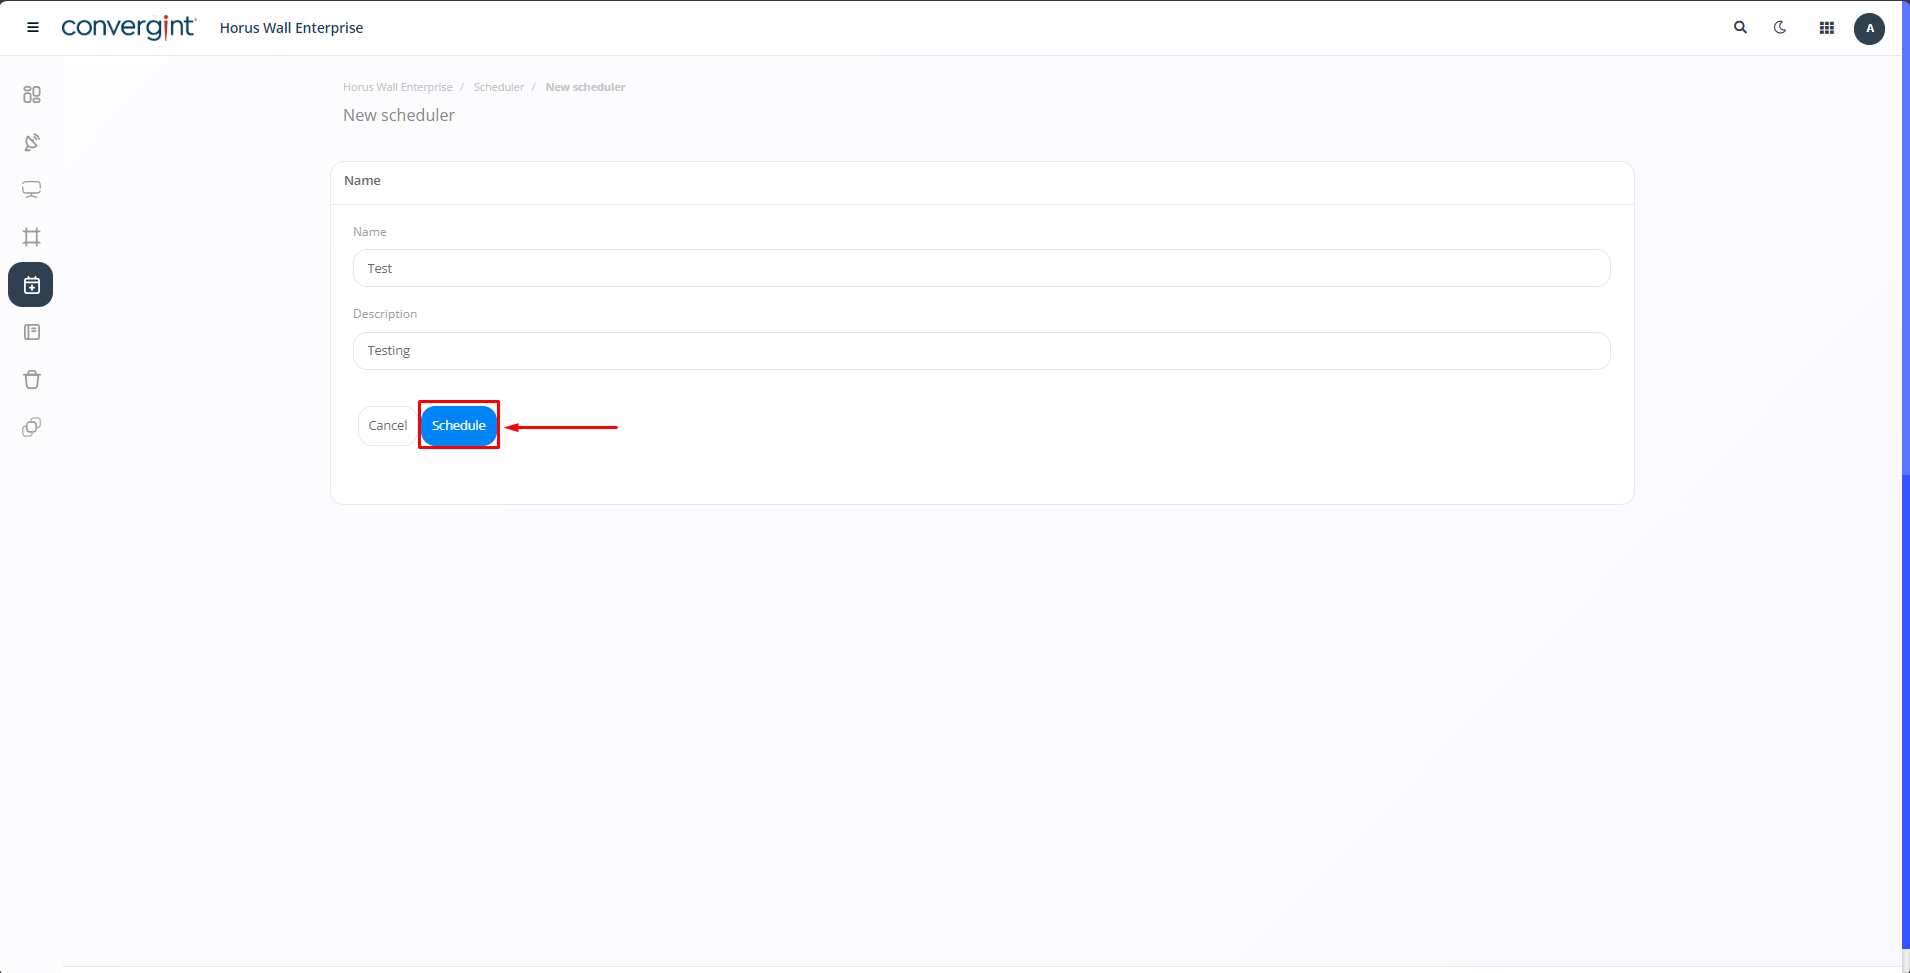
When clicking on the "Register Scheduler" button, you will need to enter a name for the new scheduler. If a description is required, there is a field available just below the "Name" option. After completing these steps, simply click the "Schedule" button, and the scheduler will be registered and displayed below with your chosen settings.
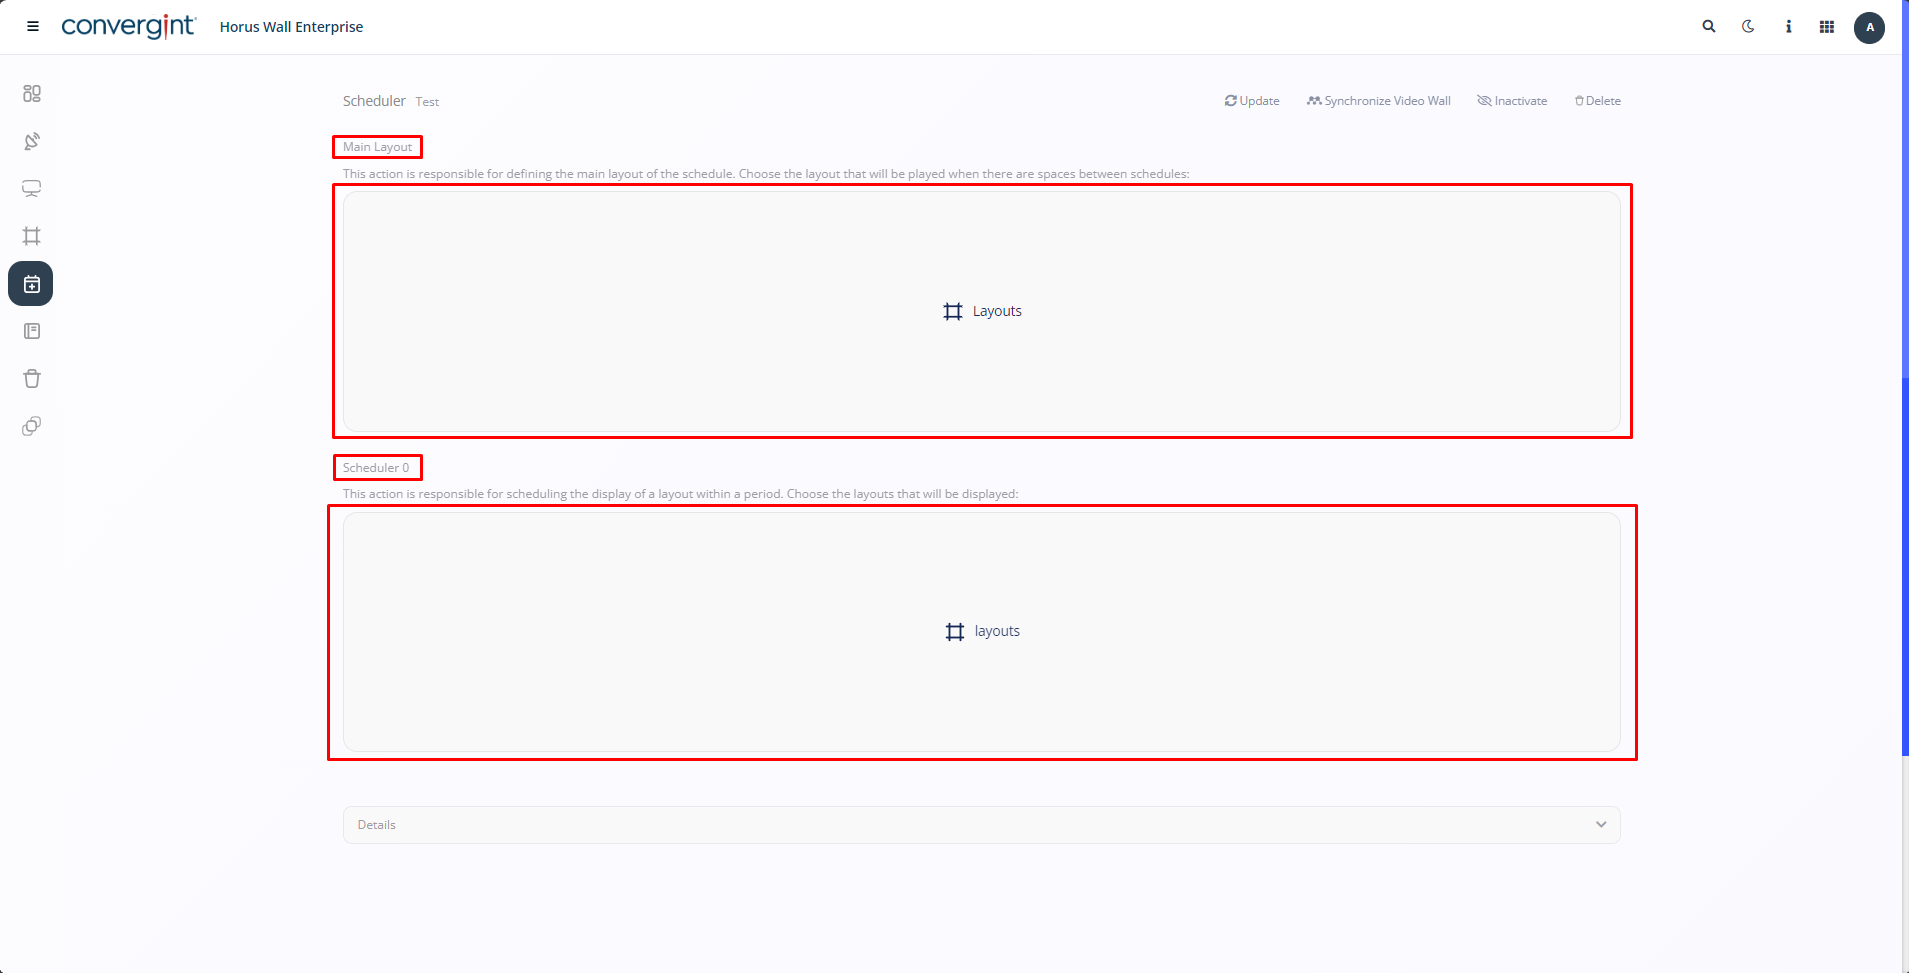
After completing the previous step, you will be redirected to the screen for adding layouts to the scheduler. On this screen, you will have the option to add a main layout and schedule.